On this section, you can create your own custom reports adding filters and other fields. This tool is very useful to schedule the custom reports to be automatically delivered over email on a defined frequency (weekly, monthly etc.).
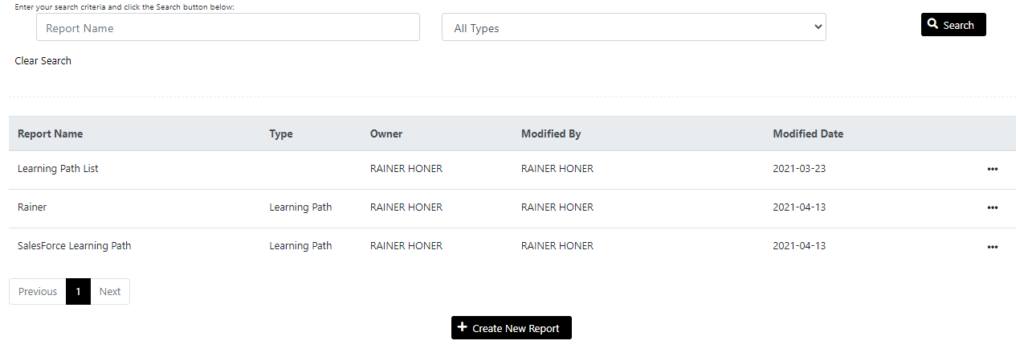
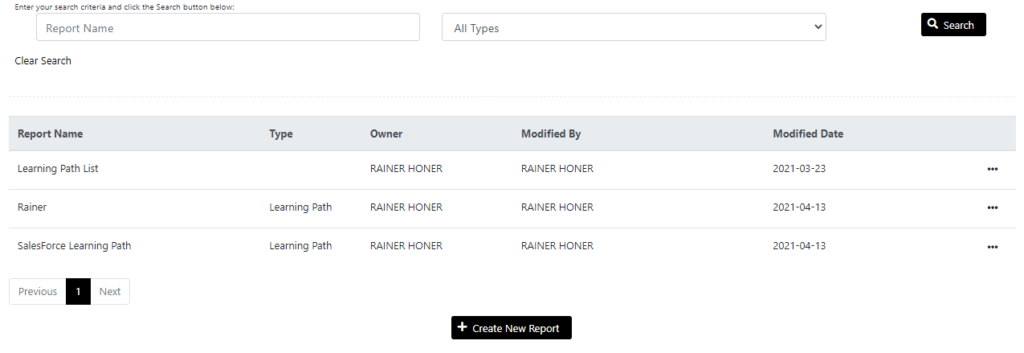
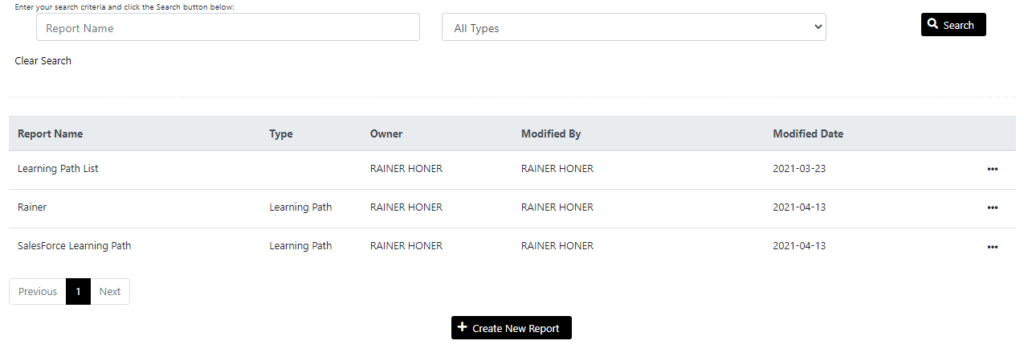
From the home screen, you can search and open an existing custom report, or create a new report.

With the filter you can search for any existing custom report.
On the list, for each custom report you will see:
- Report Name.
- Report Type.
- Report Owner.
- Report Modified By.
- Report’s Modified Date.
- A “three dots” button.
To edit an existing report, click on it or go to the ”three dots” button, then click on Edit.
To delete an existing custom report, go to the “three dots” button and click on Delete.
Create New Report
To create a new report, click on the Create New Report button below the existing reports list.
First, write the information required on the four first fields. Type the Name of the new report, its Publisher, Date Range and Type.

After completing that information, the Fields section will be immediately populated with the available fields. Use the arrows to move the fields from one side to the other. Keep in mind that those on the right box will be the ones displayed in the final report.

Use the “Filter Content” section to only report on a finite set of Content Items or Learning Paths. Leave it blank if you need to include all.

Use the “Filter Group” section to only report on specific User Groups. Leave it blank to include all.

Note: You can easily create new “User Groups” from the “Manage Users” menu in the left bar. See the corresponding documentation to learn more.

Use the “Filter Users” section to only report on specific User(s). Leave it blank to include all Users.

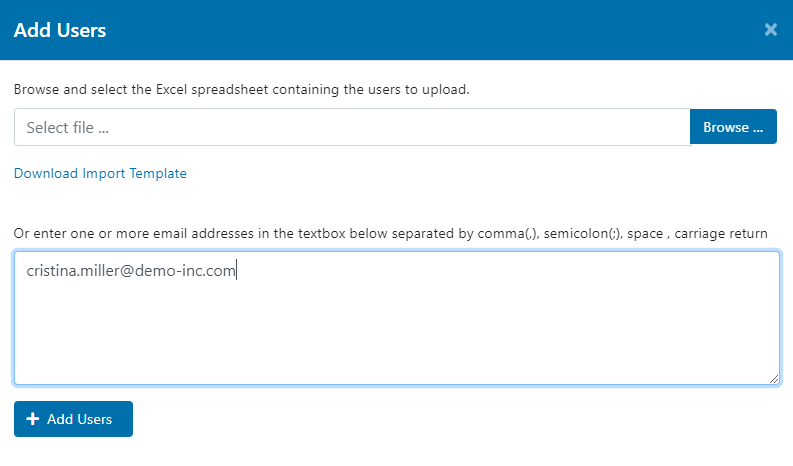
To add users, click on the Add User button. A pop-up window will appear. Here, you can upload a list of users from an existing Excel file on your computer by clicking the Browse… option. If you don’t have any file like this, click on the Download Import Template to download an Excel file with the fields ready to be populated. Save the file and upload it.
You can also enter user by user on the box below.

Click on Add Users and close that window.
From the Recipients section, select the users that will receive the scheduled report. Click on the Add Recipient button.

A pop-up window will appear. Here, you can upload a list of users from an existing Excel file on your computer by clicking the Browse… option. If you don’t have any file like this, click on the Download Import Template to download an Excel file with the fields ready to be populated. Save the file and upload it.
You can also enter user by user on the box below.

Click on Add Users and close that window.
From the Schedule section, check the “Schedule to run…” checkbox if you want to your custom report to be sent over email automatically on a regular frequency.

Select the periodicity with which the reports will be sent (Daily, Weekly, Monthly).
Click on Save.
Now, the new report is ready.
Click the Preview button if you want to take a quick look at your final report.

From the Preview Window, you can use the Export button to export the full report immediately.
