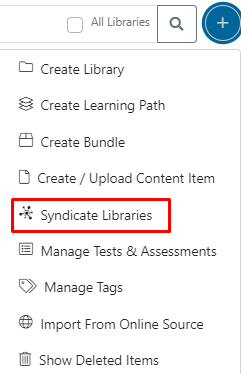
To syndicate new libraries from the main ECM window, click on the plus icon on the right side of the searching bar.
When the menu drops, click on Syndicate Libraries. You will be directed to a new window where you can syndicate the new library.
You can also access the Syndication Management page from the left bar, going to the ECM icon and clicking on the Ecosystem Content Syndication tab.

On this new page, you will see a searching bar and the available nodes from which you can syndicate content to your node. Use the searching bar to browse for specific content.
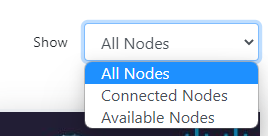
In the Show “All Nodes” filter, you can select if all nodes will be shown or only connected or available nodes.

On each node, you will see its name, the Content Catalog, the total amount of assets available, the number of Content Libraries (which is the total number of libraries inside that node), and an Add Content button.
If it is a non connected node, click on the Connect button to connect your node with it. This will allow you to add content from the other node’s catalog.
The Syndication Manager will open in a pop-up window.
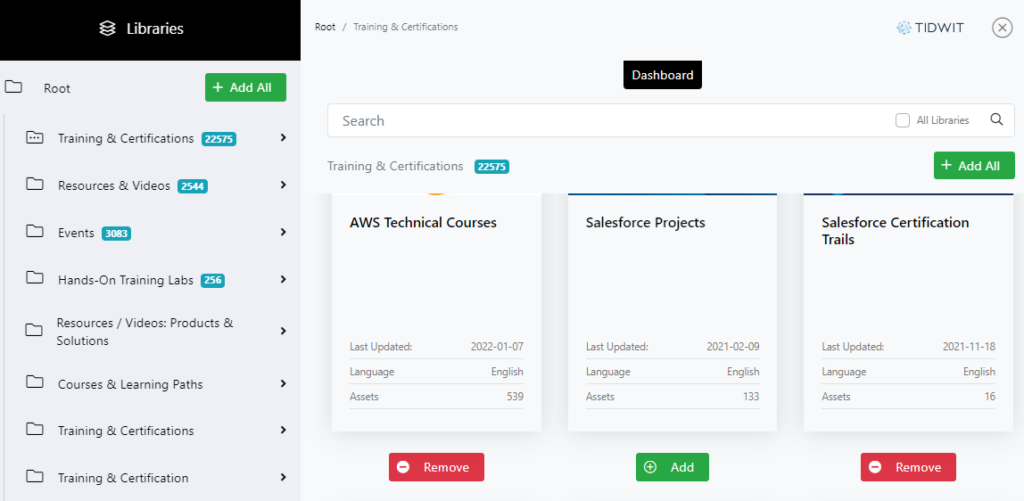
You will see a left-side panel that makes navigating the library tree structure easy. The main panel on the right side shows the list of sub-libraries and assets that belong to a library selected on the left (similar to a file explorer). By default, the main panel will show the list of libraries that are mapped to the ROOT of the instance.
You can navigate the catalog either by using the left pane tree structure or by clicking specific libraries and sub-libraries from the main panel (and navigate back using the “breadcrumb” on top).

The blue number shows the number of assets inside that library. Click on the right arrow to expand a library and list its sub-libraries.
Click on the Dashboard button at any point in time to show the number of Added Libraries, Added Content, Available Libraries, and Available Content:

Click on it again to hide it.
You can see a list of libraries and/or assets on the right panel with the corresponding thumbnail and details (name, last update, language, etc.).
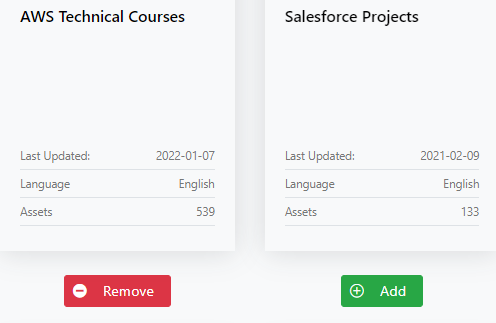
The library will be immediately syndicated if you click on the green Add button. If you see the red Remove button, it means this library is already syndicated. Click on it to unsyndicate it immediately.
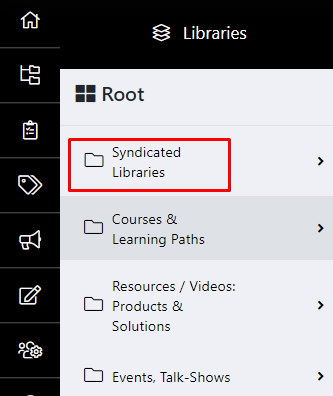
Note: only libraries can be syndicated (you cannot syndicate individual assets). When adding new libraries, the assets that belong to them are immediately syndicated to your instance and show up in the ECM under the “Syndicated Libraries” library (at your instance’s root).
Close the Syndication Manager when you finish syndicating content.