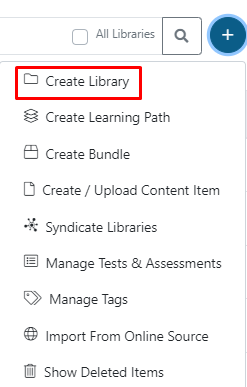
To create a new library from the main ECM window, click on the plus icon on the right side of the searching bar.
When the menu drops, click on Create Library. A new window will pop up with empty fields requiring information about the new library that will be created.
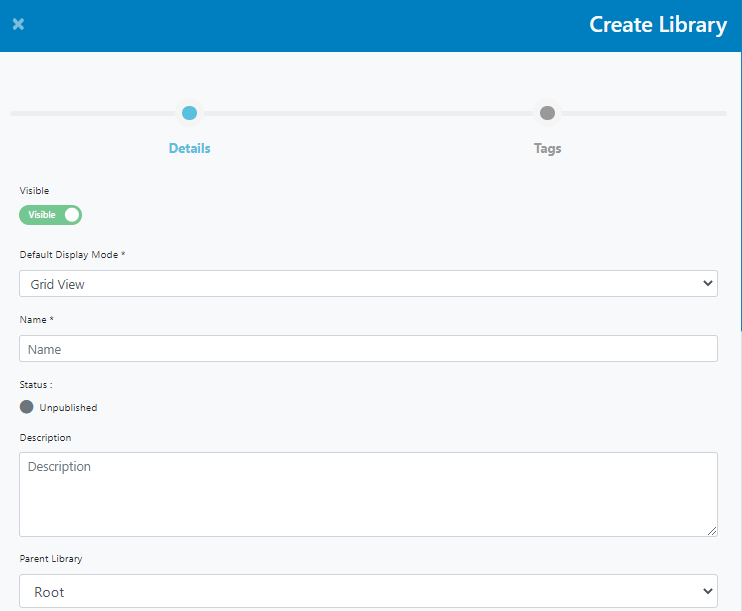
Details Section
Select if the new library will be visible or hidden to users (i.e., use the hide option to create/edit the library and see everything’s working fine before users can see it), select the default display mode, and write its name and a description of its content. On the Parent Library dropdown menu, select a parent library that will contain the new library.
Select a publishing date and the language in which the library is available. Select the publisher, and upload a thumbnail image for the new library. For best rendering, the thumbnail should be 700 x 500 pixels (.gif, .png, or .jpeg)
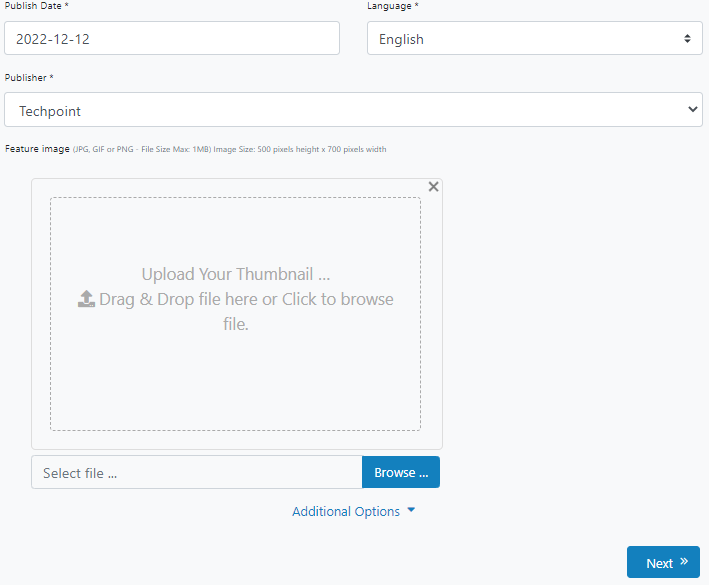
Click on Additional Options to show an Internal Reference Notes box. Use it to write important notes; they won’t be visible to users.

Click on the Next button.
Tags Section
In this section, choose the tag values that will make the library easier to search & find by the user. The available tags must be created separatedly using the Manage Tags functionality (see the corresponding documentation).
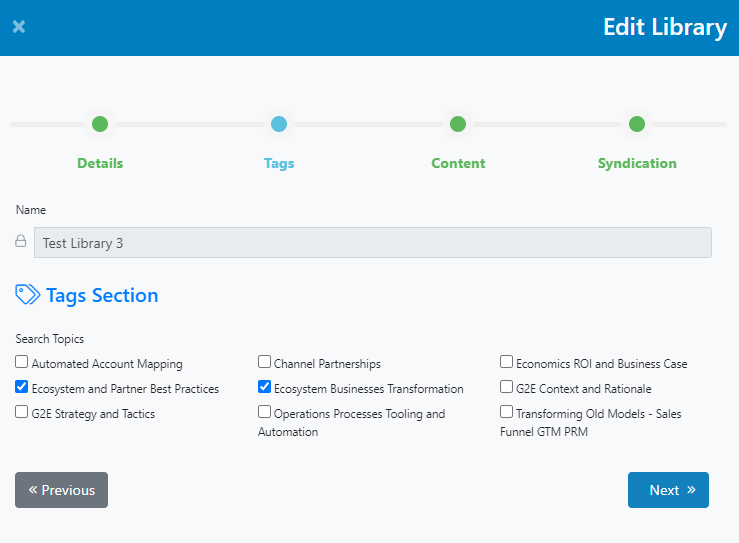
After selecting the tag values, click on Next.
Content Section
In this section, add the content of the new library. You can add learning paths, bundles or content items (assets).
Select the default sorting for the content inside the library.
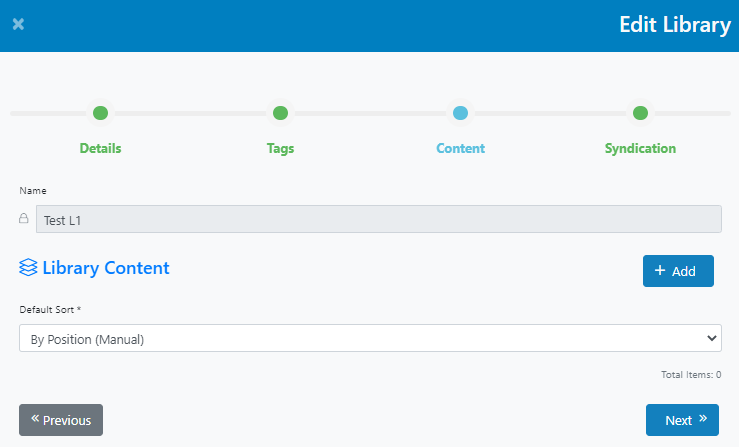
Click on the + Add button. A new window will pop up with a list of all the available libraries. You can explore and navigate them to find content.
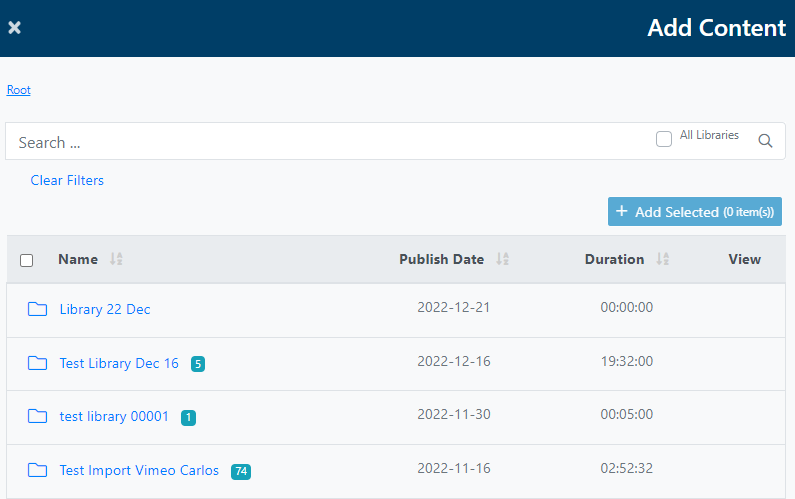
Select the ones you want to add and click on the Add Selected button.
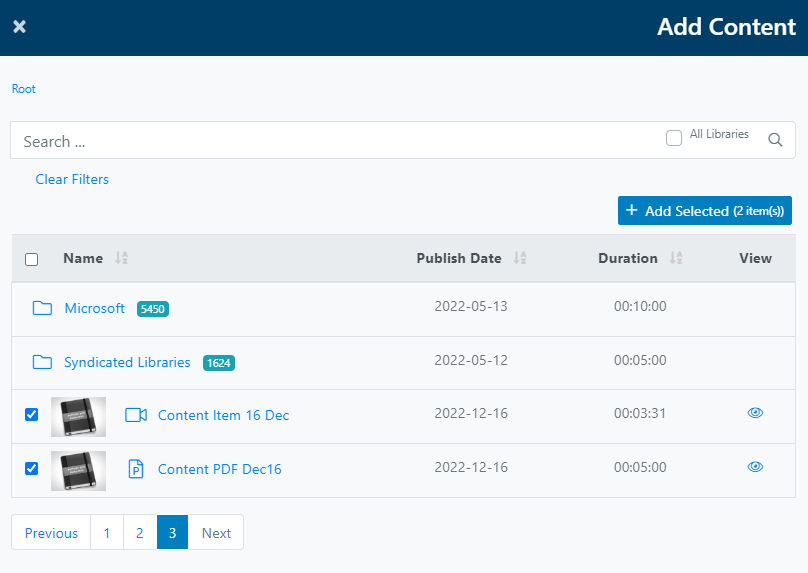
When you are finished, close the window.
Now you will see the list of added content.
There are two icons next to each content. Click on the eye icon to preview it in a new tab, and click on the right red icon to remove that content from the new library (please note that removing a piece of content from a library doesn’t delete the content itself. If you want to delete a specific content item, you’ll have to search for it in the ECM, and delete it).
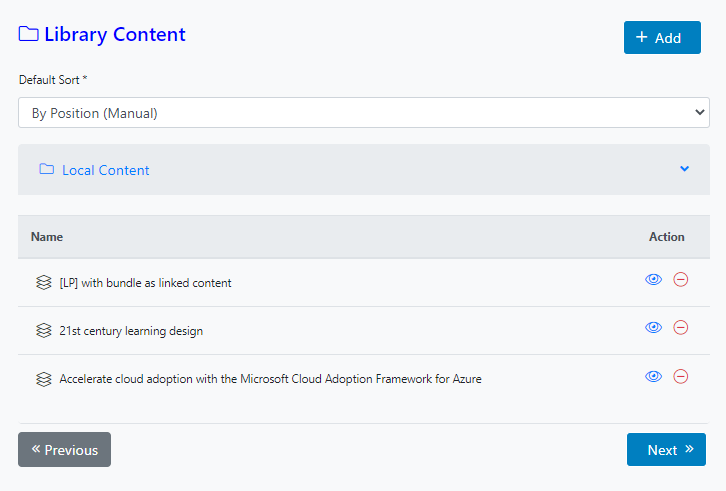
Click on Next.
Syndication Section
In this section, select the syndication modes for the library.
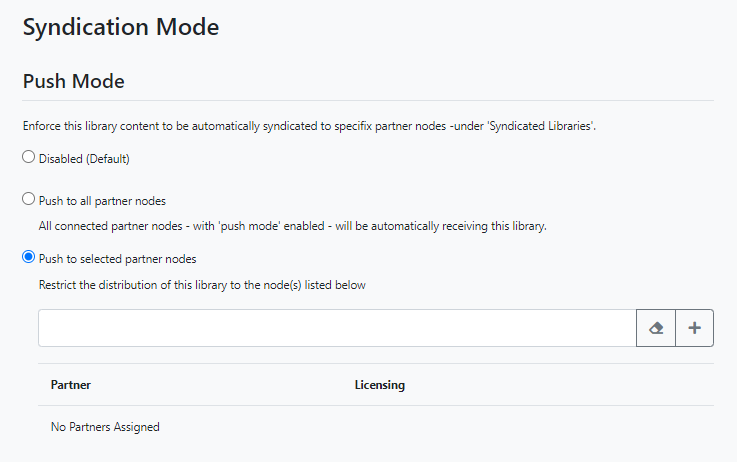
In the Push Mode section, select how the library will be syndicated to other partner nodes. You can leave it disabled. If you select “Push to selected partner nodes”, make sure to list them in the box appearing below.
In the Pull Mode section, select if the library will be public or private to other partners that may want to syndicate it. If you select Private, make sure to select the partners in the box below.
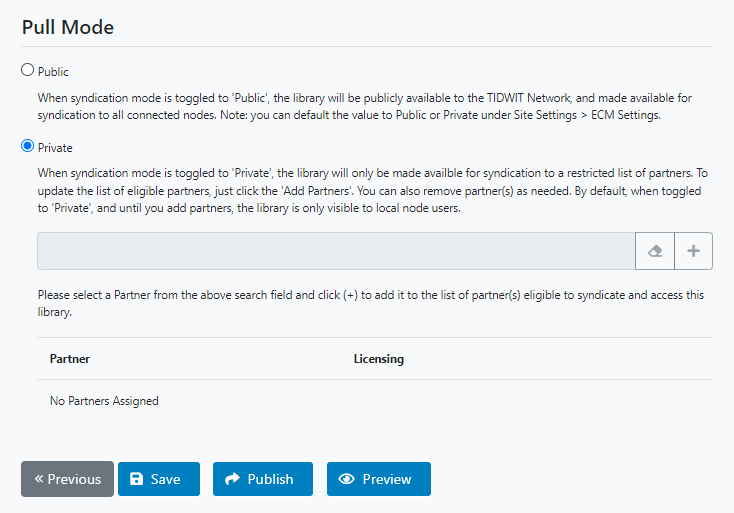
Click on Save to save all changes made to the new library but keep it unpublished.
Click on Publish to publish the new library with all its content.
Click on Preview to open a preview of the new library in a new tab.
Close the library editor, and you will see the recently created library on the main list.

The status will remain as unpublished. To publish the library, go to the “three dots button,” click on Edit, and the library editor will appear. Go to the Syndication section and click on Publish.