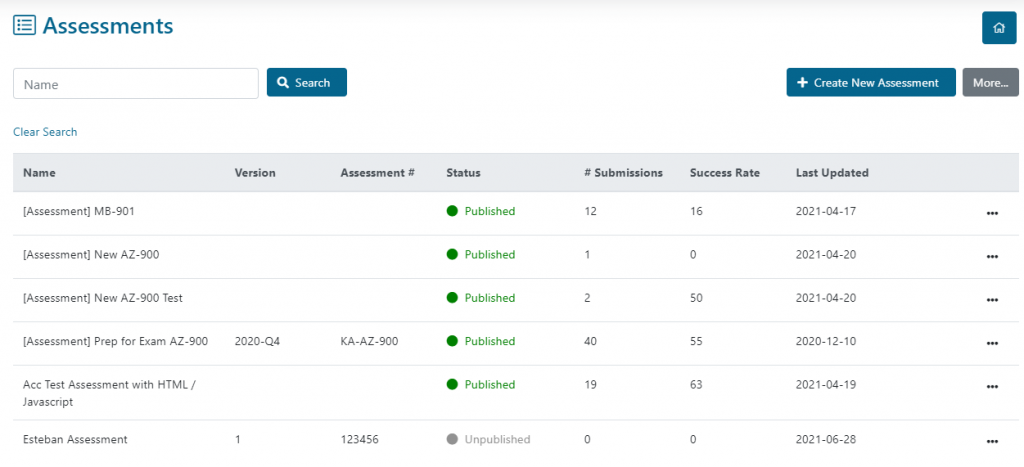
Create New Assessment Button
On the main assessments page, click on the Create New Assessment button on the upper right part of the window.
General Info
You will be redirected to the assessment creation page and land on the Assessment tab. Fill in the information required to create the assessment.
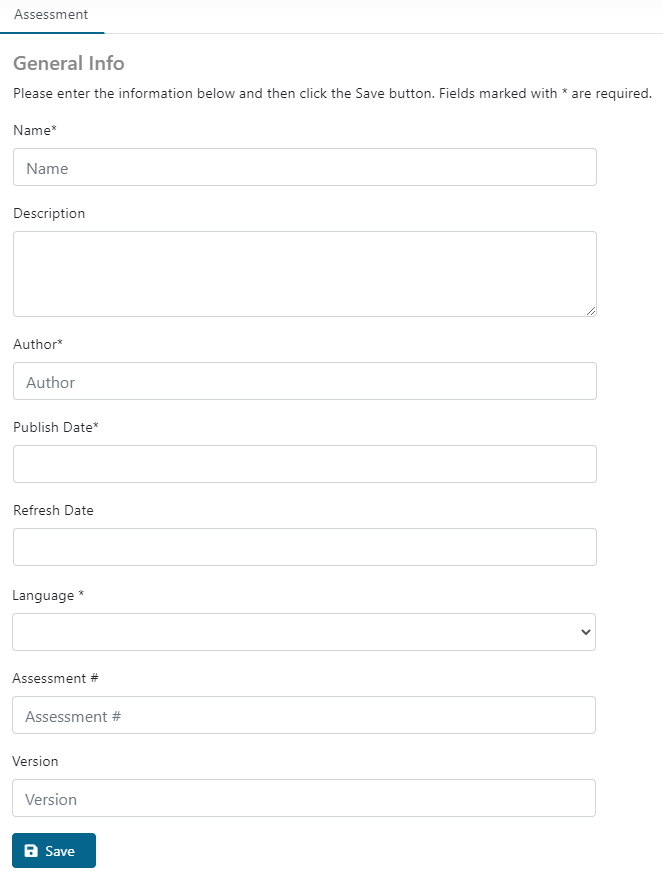
- Write the new assessment’s Name.
- Write an optional Description for the new assessment. This will be visible to the users.
- Write the new assessment’s Author.
- Select a Publish Date for the new assessment.
- Select a Refresh/Retire Date for the new assessment, if you wish to disable it on a given date. (Optional).
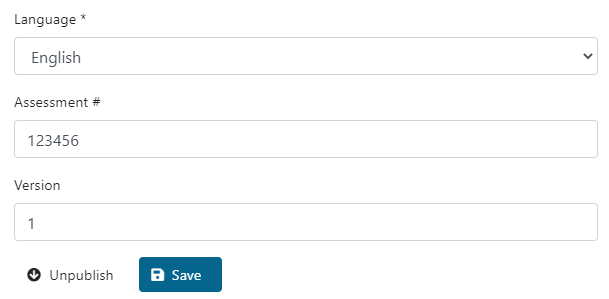
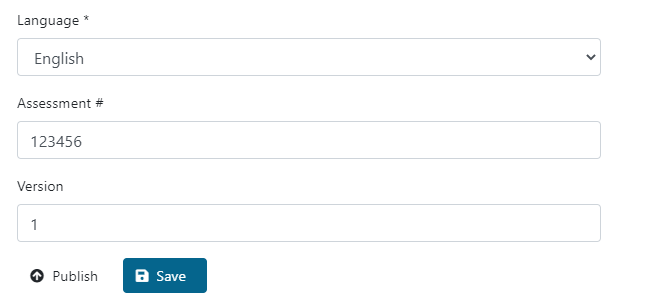
- Select the Language for the new assessment.
- Write the assessment Number. (Optional).
- Write the assessment Version. (Optional).
- Click on the Save button.
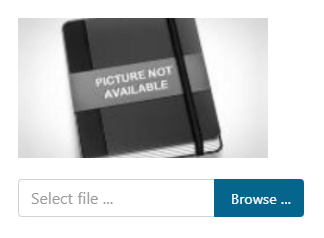
After saving, a new option will appear on the right side of the window. It allows you to upload an image to use as a thumbnail for the assessment. Click on the Browse… button to select a file and upload it.
Four new tabs will appear next to the Assessment general info tab.
Options
Click on the Options tab to set up some of the assessment’s options.
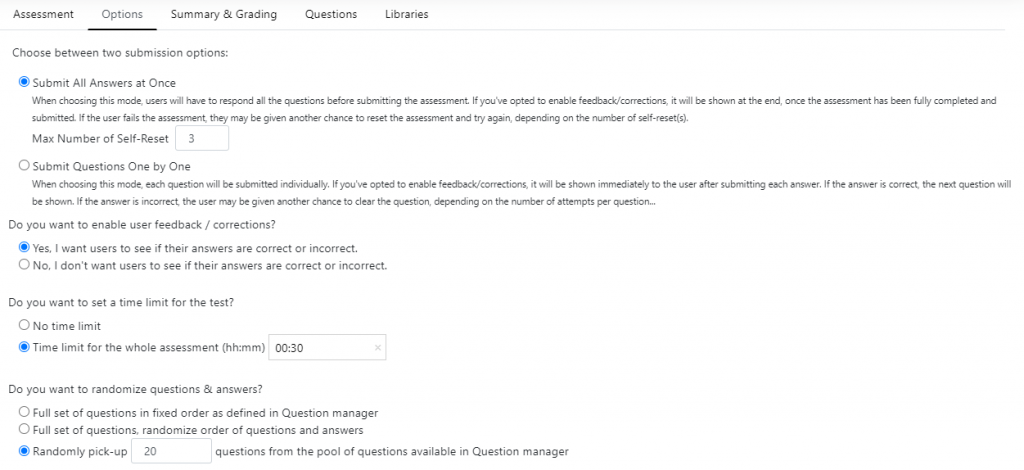
On the first two options select an assessment submission option.
- If you select Submit All Answers at Once, users will have to answer all questions first and feedback (if enabled) will be shown at the end. On the Max Number of Self-Reset, write the number of times users can reset the assessment by themselves. After reaching this number, they will have to submit a customer support ticket with the TIDWIT team to ask for an Assessment Reset.

- If you select Submit Questions One by One users will have to submit each question individually. Feedback (if enabled) will be shown for each question after submitting it. On the Max Attempts per Question field write the times a user can re-answer a question if they fail to answer it correctly.

On the next option, select if you want to enable assessment feedback/corrections. This will allow you to add explanations and feedback for each of the answer choices.
Then, select if you want to set a time limit for the assessment. If so, in the time field select how much time you want to give the users to finish the assessment. The time is in minutes, so selecting 60 gives the users 1 hour to complete the exam.
In the last option, select if you want the answers to appear in a specific order or shuffled randomly in the assessment.
- You can choose to use the full set of questions, both organized or randomly.
- Or you can choose to randomly select a number of questions from all of the available questions for the assessment.
Click on the Save button.
Summary & Grading
Click on the Summary & Grading tab to set up a message that will be displayed to all respondents after they submit the assessment, regardless of the result.

- In the text box, write a text if you want users to receive a message after finishing the assessment.
- Activate the Enable Passing Score option to set up a minimum percentage of correct questions in order to pass. On the field next to it, write the percentage you want to set (e.g., 80% means they need to get at least 8 out of every 10 questions right to pass).
- Activate the Show Pass/Fail message and Score to show users a message telling them if they passed or failed the assessment at the end of it.
Click on the Save button.
Questions
Click on the Questions tab to add new questions to the assessment.
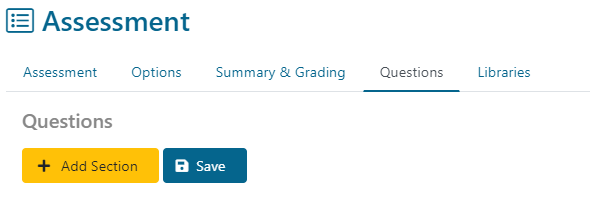
Click on the + Add Section button and a new text box will appear.
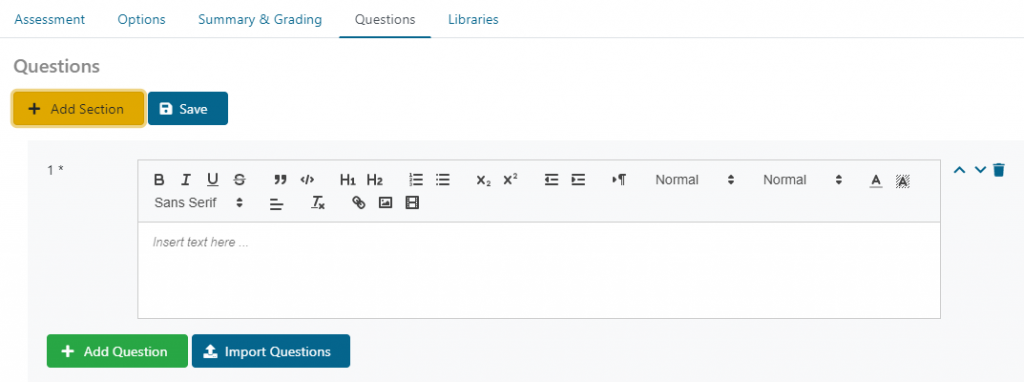
Write an introduction for the section you are creating and then click on the + Add Question button. A new box will appear where you can enter a new question.
You can also upload an Excel file with questions by clicking on the Import Questions button. A pop-up window will appear where you will be able to browse and select the file on your computer and upload it on the TIDWIT platform.
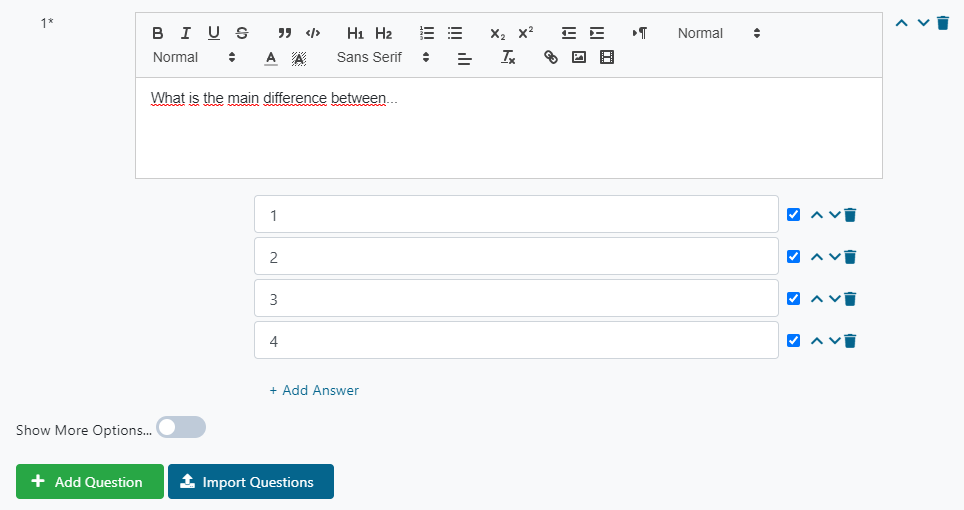
- Write the question.
- Write the possible answers from which users will have to choose. To add more answer choices, click on the + Add Answer button. To delete an answer choice, click on the trash can icon.
- You can change the position of an answer choice by clicking on the arrows button next to the answer you want to move. It will move the answer choice one place above or one place below its original position.
- To indicate which answer is the correct answer, make sure to check the corresponding checkbox next to the answer. You can check one or multiple correct answer(s).
Click on the Show More Options… toggle.
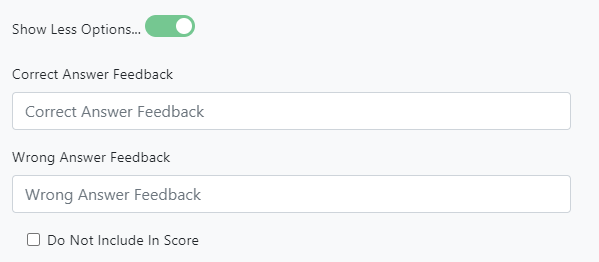
- In the “Correct Answer Feedback” field, you can write a mesage that will show-up if the user submits the correct answer.
- In the “Wrong Answer Feedback” field, you can write a message that will show-up to the user if their answer is wrong.
- Check the Do Not Include In Score checkbox if you don’t want this question to be taken into consideration for the score calculation.
Repeat the same procedure for the rest of the questions you want to add.
You can add multiple sections and questions. If you want to change the position of a section/question on the assessment, click on the arrows button to move it one place above or one place below.
If you want to delete a section/question, click on the trash can button next to the arrows.
After you finish adding all the questions, click on the Save button next to the + Add Section Button.
Libraries
Click on the Assign New Library button and a new window will appear.
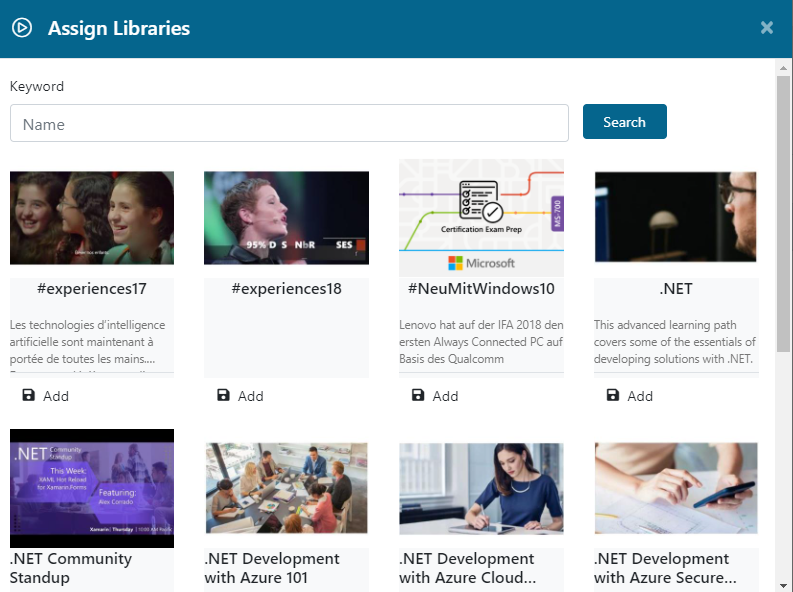
Select and add the assigned libraries by clicking on the Add button. The assessment will be added immeadiately to the assigned libraries list. Close that window to see which libraries you have selected.

Click on the Unassign button to delete the library from the list.
Publish Assessment
After checking everything is in order and the assessment is ready to be published, go to the Assessment tab. On the lower left corner click on the Publish button. This will make your assessment visible and accessible by users.
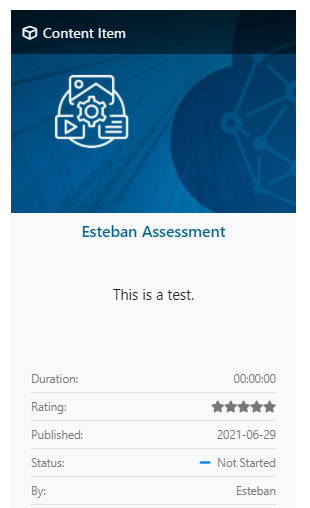
Go to your instance’s home page and search one of the libraries you assigned the assessment to. The assessment should now appear in the library.
If you want to unpublish an assessment, go to the assessment’s Assessment tab and on the lower left corner click on the Unpublish button.
