Sign-in to your TIDWIT Ecosystem instance:


On the upper left corner click on the Menu button. The left-hand side panel will display, and you will see icons corresponding to the different apps and workloads available on TIDWIT. The first three icons correspond to the Users section explained in the User Manual. The remaining icons are only visible with an administrator profile. If you can’t see them and you are an administrator, ask your TIDWIT portal administrator to give you the required permissions.
Campaigns
In the left bar, under the Ecosystem Campaigns menu, click “Manage Campaigns”.

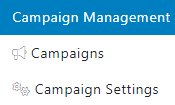
You will see is a list of campaigns created to date and their status.
Campaign Types
4 types of campaigns can be created:
- Internal Campaigns will allow you to assign one or multiple assets (content items, learning paths, bundles etc.) to a group of internal users, and track their progress (opens / clicks / starts / completions). Each target user will be notified over email (and via the messaging center on TIDWIT) with a link to the campaign landing page, from which they can start and/or resume their assignment. Internal campaigns also include a “leaderboard” option to “gamify” the assignment, adding a count-down (remaining days for completion) and a leaderboard table to the campaign landing page.
- Ecosystem Campaigns will allow you to create co-skilling campaigns with downstream partners. Using this campaign type, you can package all the elements of the campaign (including the campaign settings, learning assignment, and the campaign email template), and “push” the campaign to one or multiple partner nodes downstream. Each downstream node can then launch the campaign to their own internal target audience. You can then track and report learners progress across partners.
- Skilling campaigns are only available to customers using the Skilling, Badging & Certification application. It allows them to automatically assign & track curated learning curriculums based on selected skill(s).
- Email Blast campaigns will allow you to send a simple email to your target audience, without any learning assignment attached to it. It can be useful to promote events, provide support and guidance, communicate important information, drive platform adoption etc.

Ecosystem Campaigns
To create a new Ecosystem Campaign, click on the [ + ] plus button on the upper right corner of the screen then click on Create New Advanced Campaign. A modal will be displayed.
Fill in the required information.
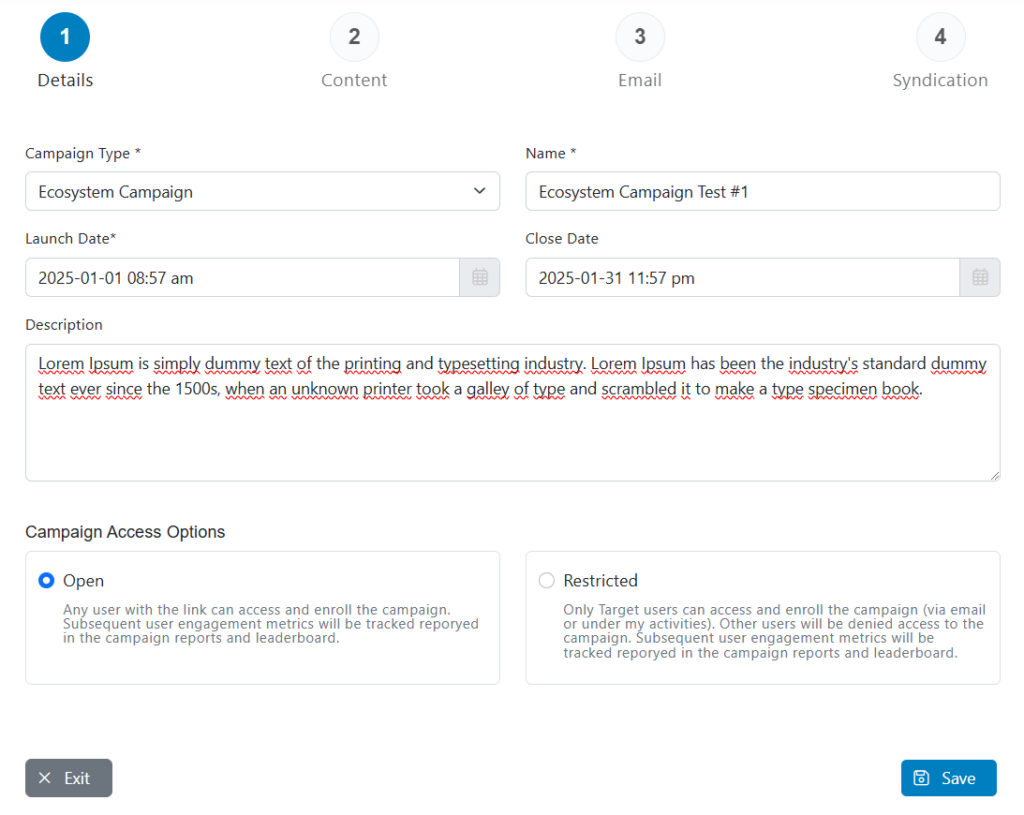
- Campaign Type: choose Ecosystem Campaign from the drop-down menu. (This option allows you to send a campaign to one or multiple downstream nodes).
- Write the name you want to give the campaign.
- Write a description for the campaign (optional).
- Select the Launch Date, to define when your downstream node Admins shall be notified – until then, the campaign status will show as “Scheduled to launch…”
- Select the Close Date when the system will stop tracking the campaign.
- Choose the Campaign Access Option according to your needs:
Open: Any user with the link can access and enroll the campaign.
Restricted: Only target users can access and enroll the campaign (via email or under my activities).
Click on the Save button.
After clicking on the Save button three new tabs will appear Content, Email and Syndication.

Content tab
Click on the Content tab, it allows you to add content to your Campaign, like Learning Paths, Content Items and Bundles.
Note: Make sure the status of the content you are adding is “Published”.

Click on the + Add Assets button and you can select the type of content you want to add to the campaign (For this example, we will add a Content Item). A new window will appear.
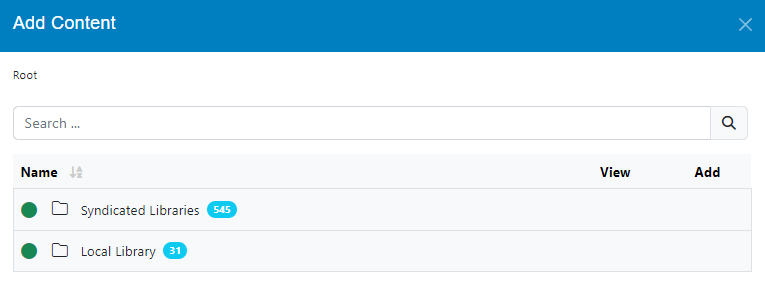
You can navigate through all available libraries. You can also use the search bar to find specific content.
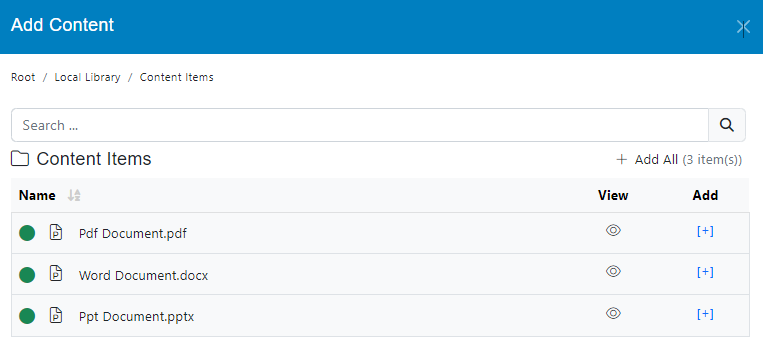
Click on the plus [ + ] button to add content one by one or click on the + Add All button to add all the listed content.
Close the window and you will see the recently added content, you can define if the content is required or not (only required assets will be considered for the completion of the assignment). You can also remove any content item if necessary, by clicking the remove button.
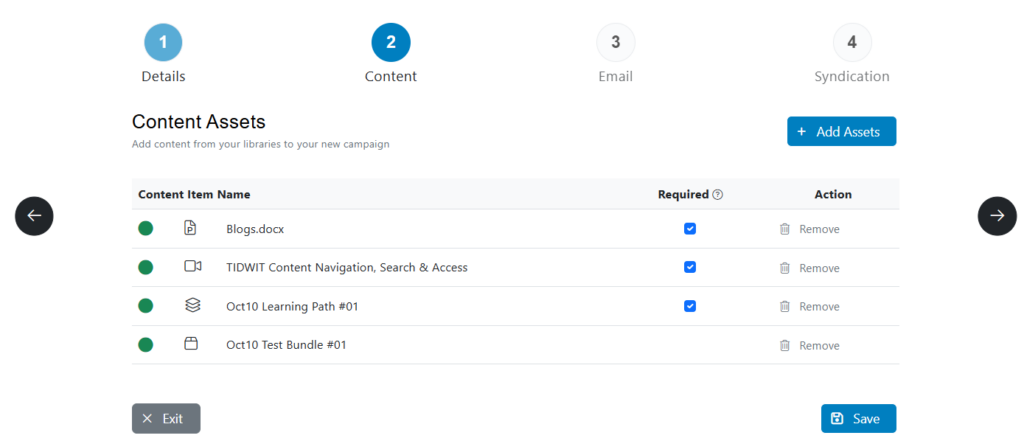
Click on the Next button.
Email tab
In the drop-down menus select the templates for the Launch email and for the Reminder email. Then click on Save. Email templates can be created and edited separately using the “Email Templates” application (refer to the corresponding user guide).

Click on the Next button.
Send Test Email
To test your learning campaign before launching. return to the Set-Up tab and on the lower right corner click on the Send Test Email button.

Type the email address where you want to send the Test Email and click on Submit.
Verify that you have received the test email as it should be.
Syndication tab
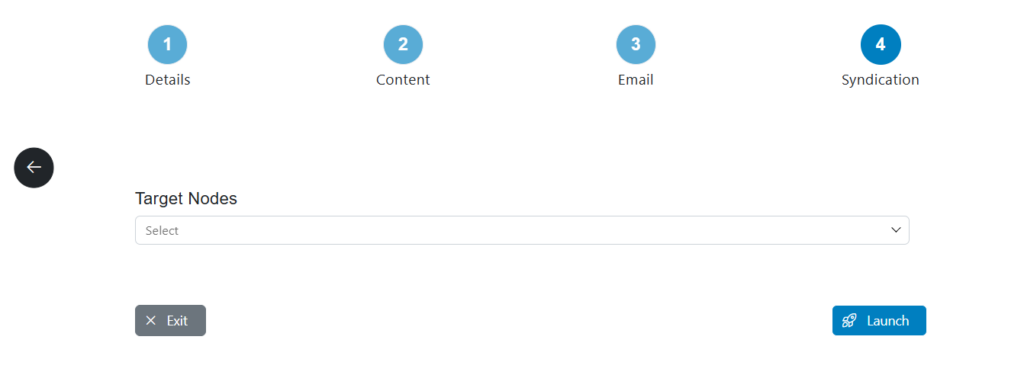
Select the nodes you will send the campaign to and add them using the [ + ] button. (Nodes should have been added before, check the Ecosystem Orchestration documentation).
Launch
Click on the Launch button, this will send the Ecosystem Campaign to the selected nodes.
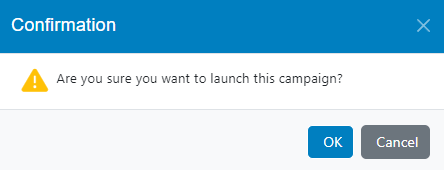
The campaign will now be activated, and the corresponding campaign elements will be submitted to the selected downstream nodes for further approval and launch toward their own internal user audience.